guide · retrobox · beta
RetroBox guide
How to use RetroBox, step by step: playing, pausing and saving, adding your own ROMs and BIOS files, connecting sources, using your account on several devices and adjusting the settings.
In this guide
First launch
RetroBox opens at gerla.cc/retrobox in any modern browser, on computers, tablets and phones. There is nothing to install and you do not need to sign up to play.
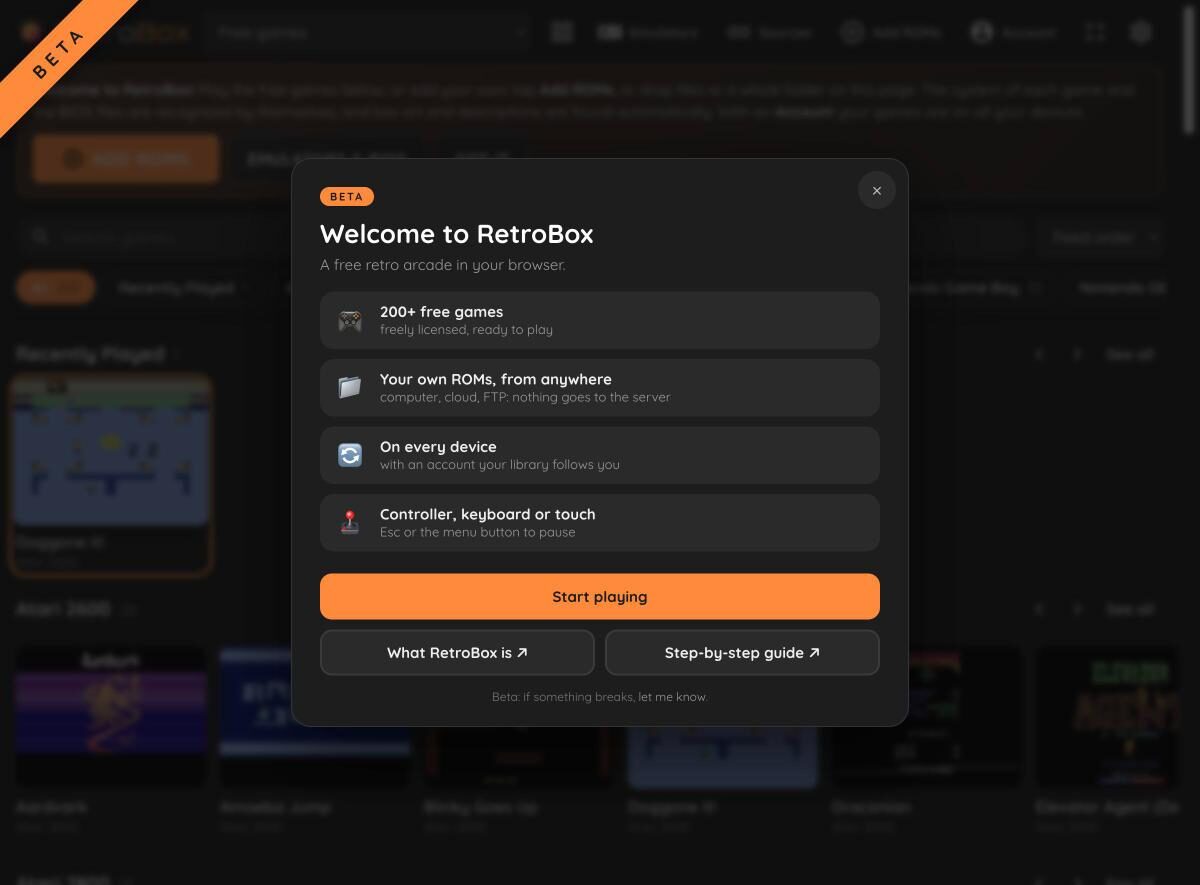
After the welcome box you get the library, with more than 200 freely licensed games ready to play.
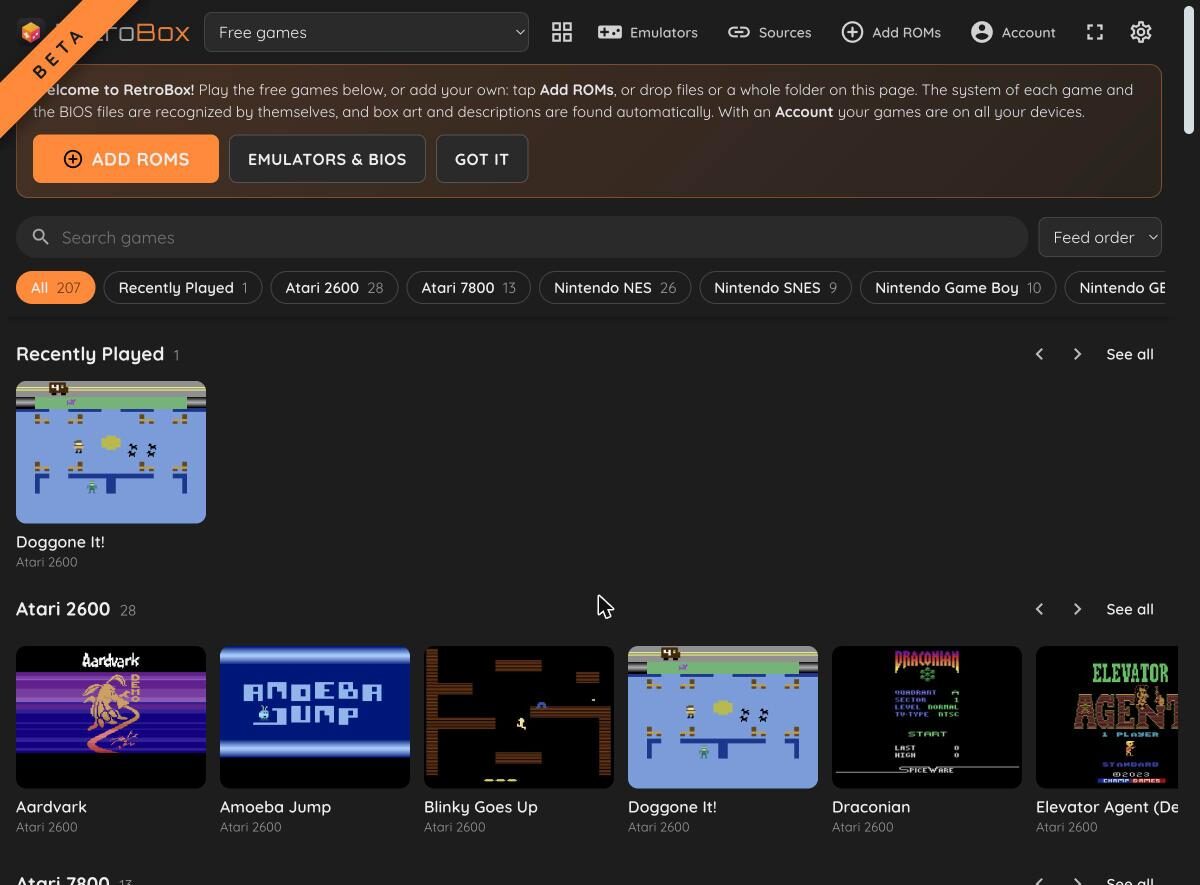
- The main commands are at the top: Emulators, Sources, Add ROMs, Account, full screen and settings (the gear).
- Search games finds a title across all categories; the menu next to it changes the order.
- The filters below the search show a single system. In each row, See all opens the full list.
- After your first game a Recently Played row appears.
Playing
- Click a game cover: its card opens.
- Press Play. The game loads and starts; the first time you play a system, loading takes a few more seconds.
- If the browser blocks sound, a notice asks you to turn it on: one click or tap is enough.
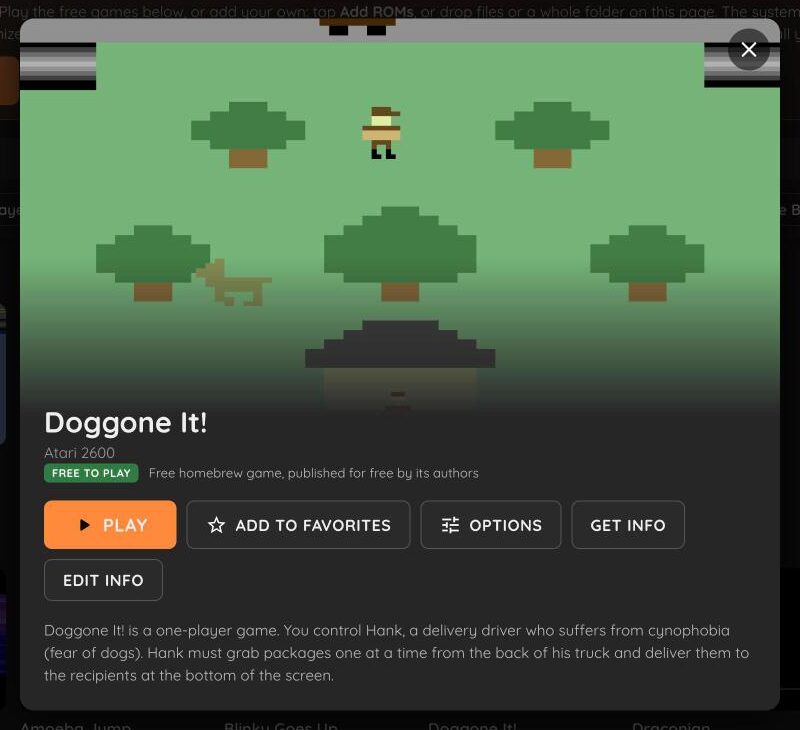
The card also has Add to favorites, Options (settings for that game only, such as the screen size), Get info (box art, screenshots and description found automatically) and Edit info.
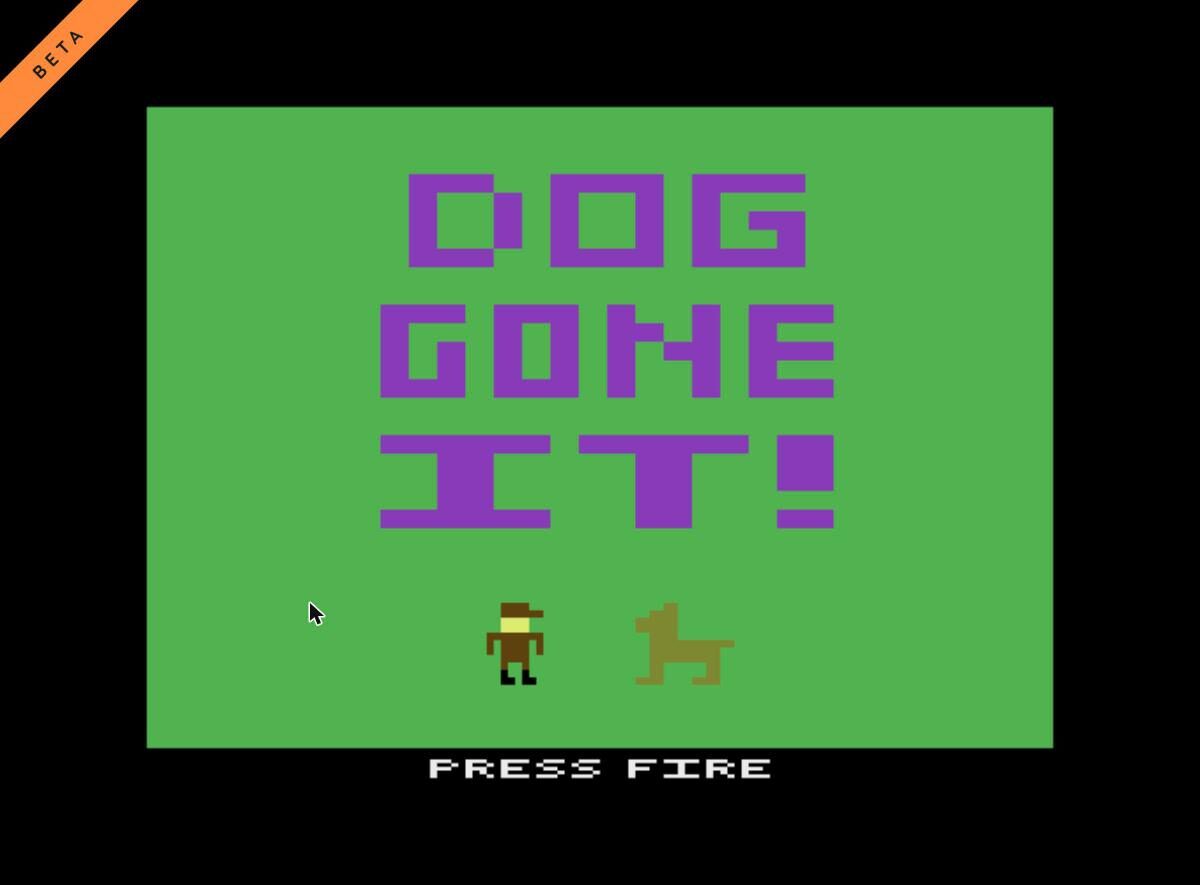
You can play with the keyboard, with a controller connected to your computer or phone, or with the gamepad shown on screen on touch devices. The full screen button is at the top of the library (on iPhone, Safari does not allow web pages to go full screen).
The pause menu
While playing, press Esc on the keyboard or the menu button on your controller.
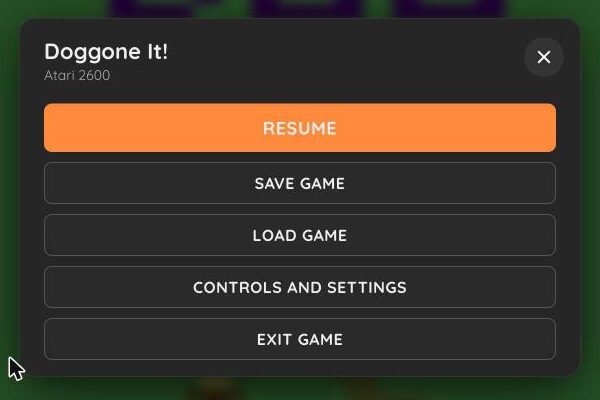
- Resume goes back to the game.
- Save game saves the exact point where you are; Load game brings it back. Saves stay on this device.
- Controls and settings opens the emulator menu (below).
- Exit game goes back to the library.
Controls and settings
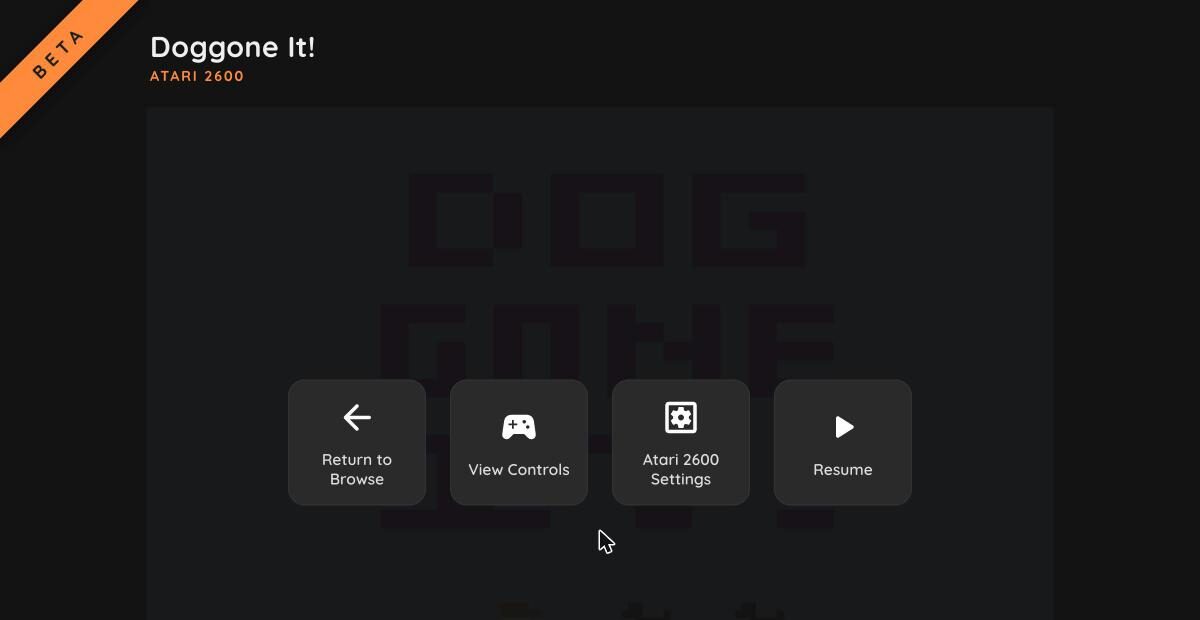
Here you find Return to Browse (back to the library), View Controls, the system settings (the name changes: Atari 2600 Settings, C64 Settings...) and Resume. Depending on the game you may also get cheats, achievements and disc selection for multi-disc games.
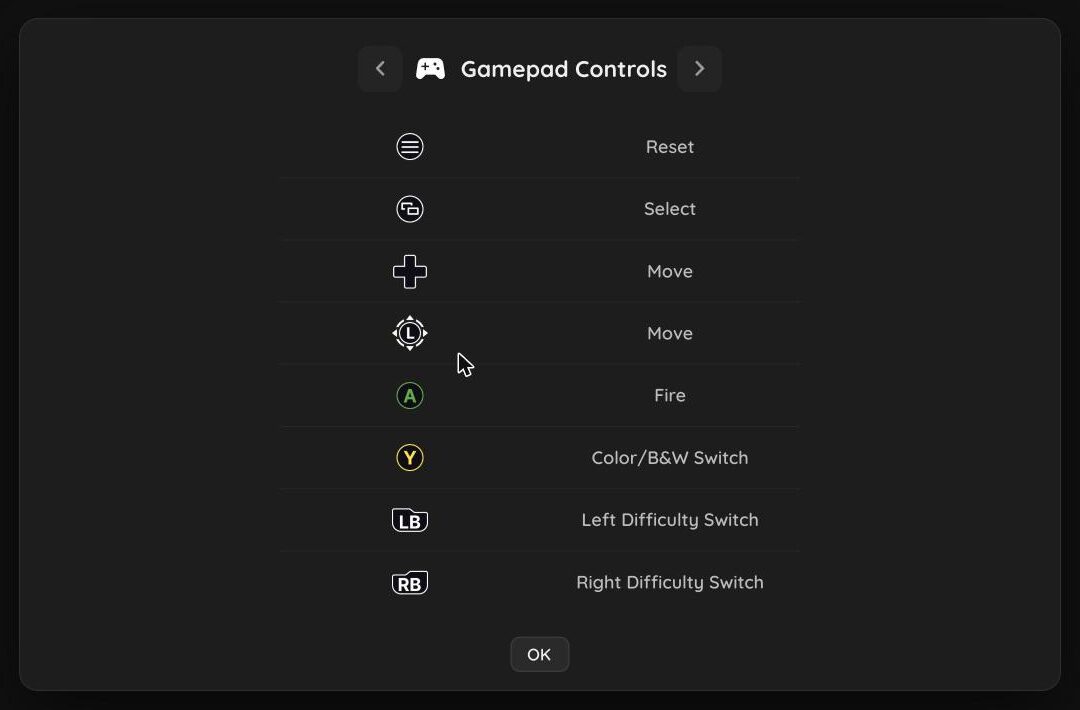
View Controls shows what each button does, for the gamepad and for the keyboard: switch between them with the arrows next to the title.
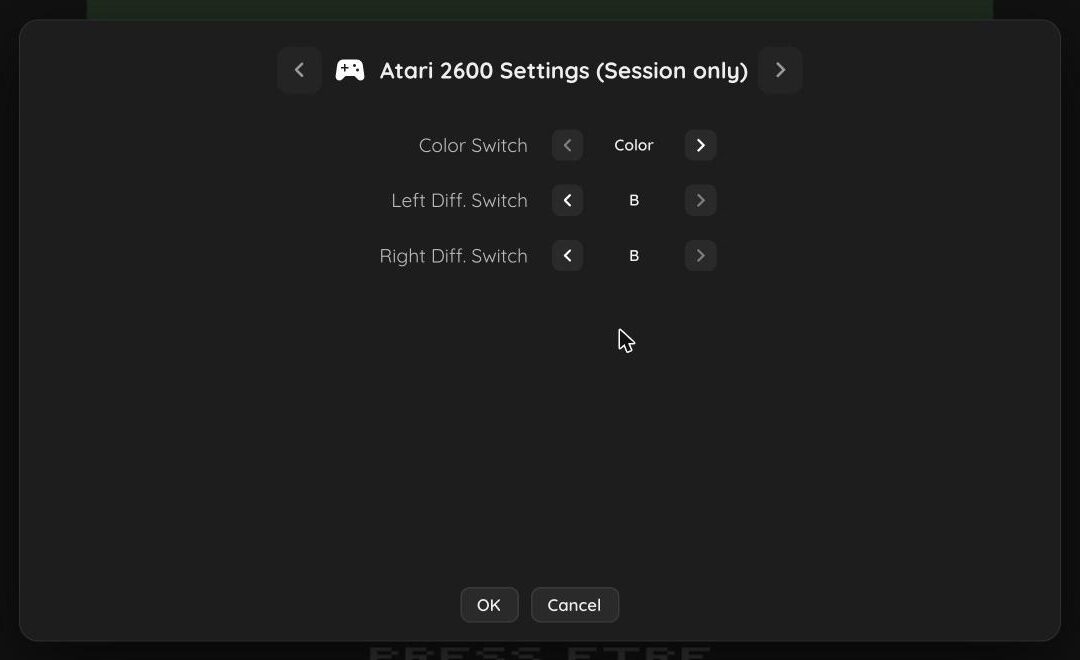
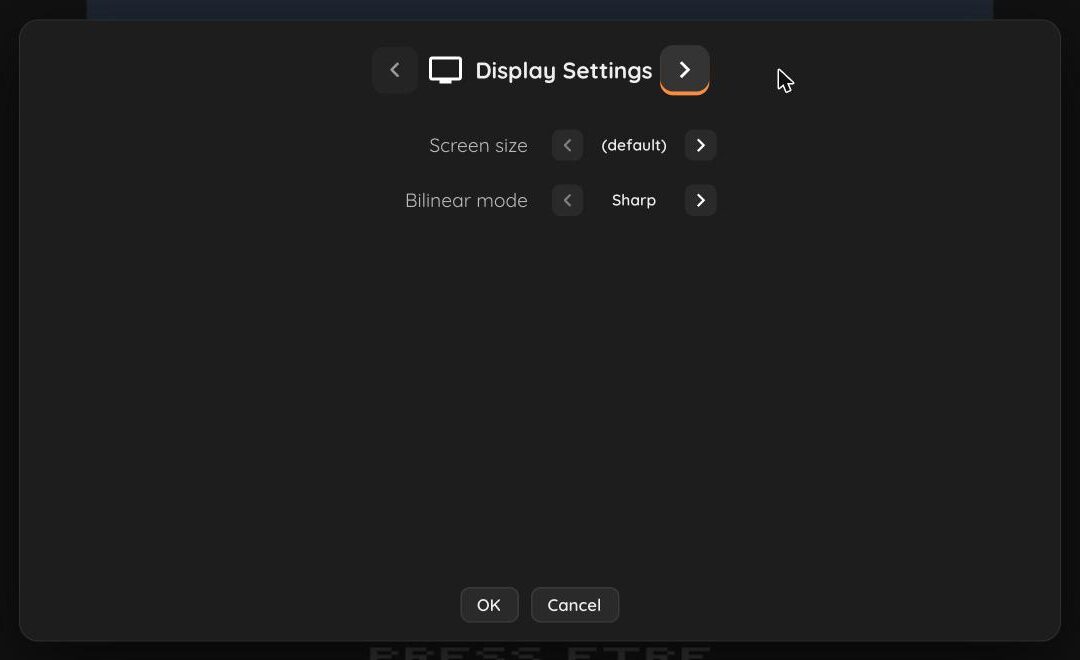
In the settings, the arrows at the top flip through the tabs: the system ones (such as the colour and difficulty switches of the Atari 2600), the display (size and filtering), and on many systems the visual effects that imitate old TV sets. Tabs marked “Session only” last until you close the game. OK confirms, Cancel leaves everything as it was.
Adding your ROMs
Besides the free games you can play your own. The system of each game is recognized automatically.
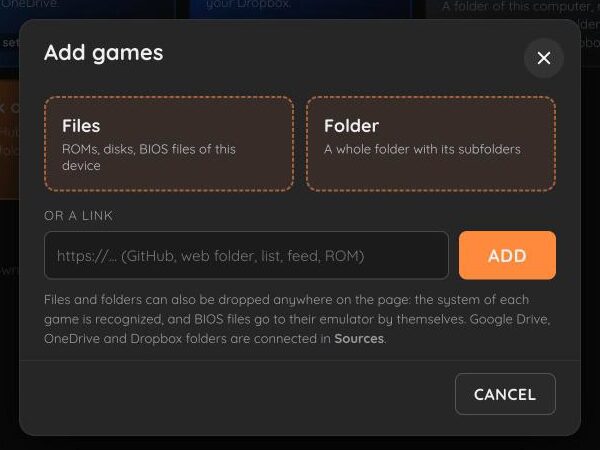
- Press Add ROMs at the top.
- Choose Files (ROMs, disc images and BIOS files) or Folder (a whole folder with its subfolders).
- Or paste a link: a public GitHub repository or folder, a web folder, a list of links or a feed. Then press Add.
- You can also drop files and folders anywhere on the page.
Sources
A source is a connected folder: RetroBox reads it with its subfolders, recognizes the games and finds new ones you add later by itself.
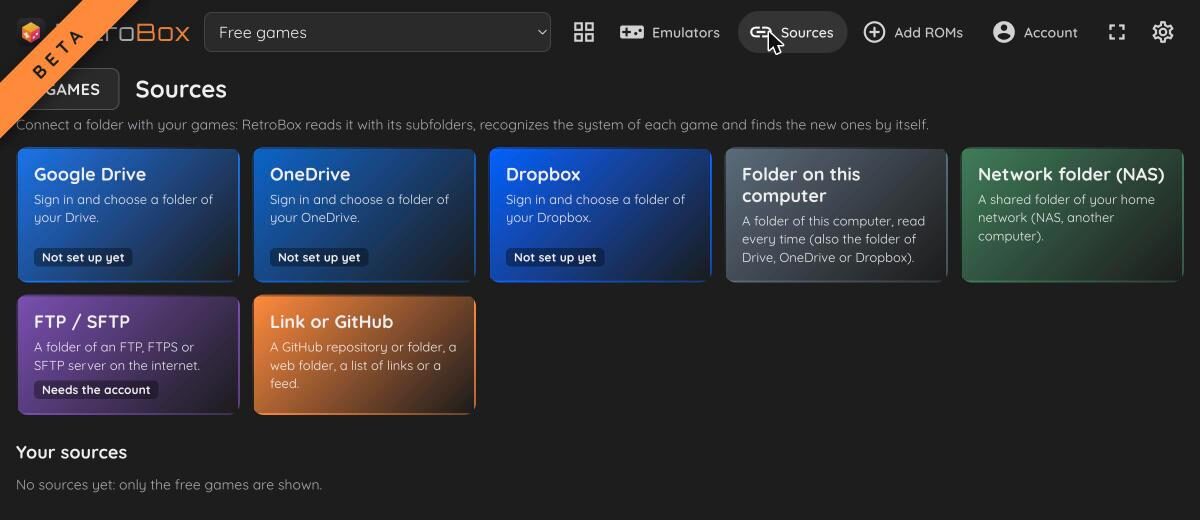
- Press Sources at the top and choose the type of source.
- Folder on this computer: the browser asks you to pick the folder and for permission to read it. The Drive, OneDrive or Dropbox folder synced on your computer works too.
- Network folder (NAS): a shared folder on your home network, such as a NAS or another computer.
- FTP / SFTP: a folder on an FTP, FTPS or SFTP server on the internet. It needs an account (see below).
- Link or GitHub: a GitHub repository or folder, a web folder, a list of links.
- Connected sources appear under Your sources, where you can also remove them.
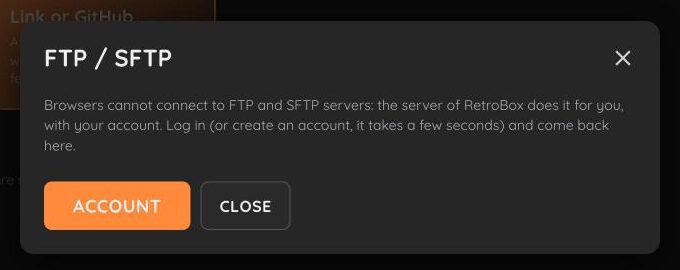
Browsers cannot connect to FTP and SFTP servers: the RetroBox server does it for you, reading the file and passing it on as it reads, without saving it. That is why FTP and SFTP need an account, where the server details are kept with an encrypted password.
Google Drive, OneDrive and Dropbox as direct sources are coming soon (“Not set up yet”). Meanwhile you can use their folder synced on your computer as a Folder on this computer.
Emulators and BIOS
The Emulators panel lists every system RetroBox can run. Some need a BIOS, the console's internal software: they are marked “BIOS needed” or “BIOS optional”.
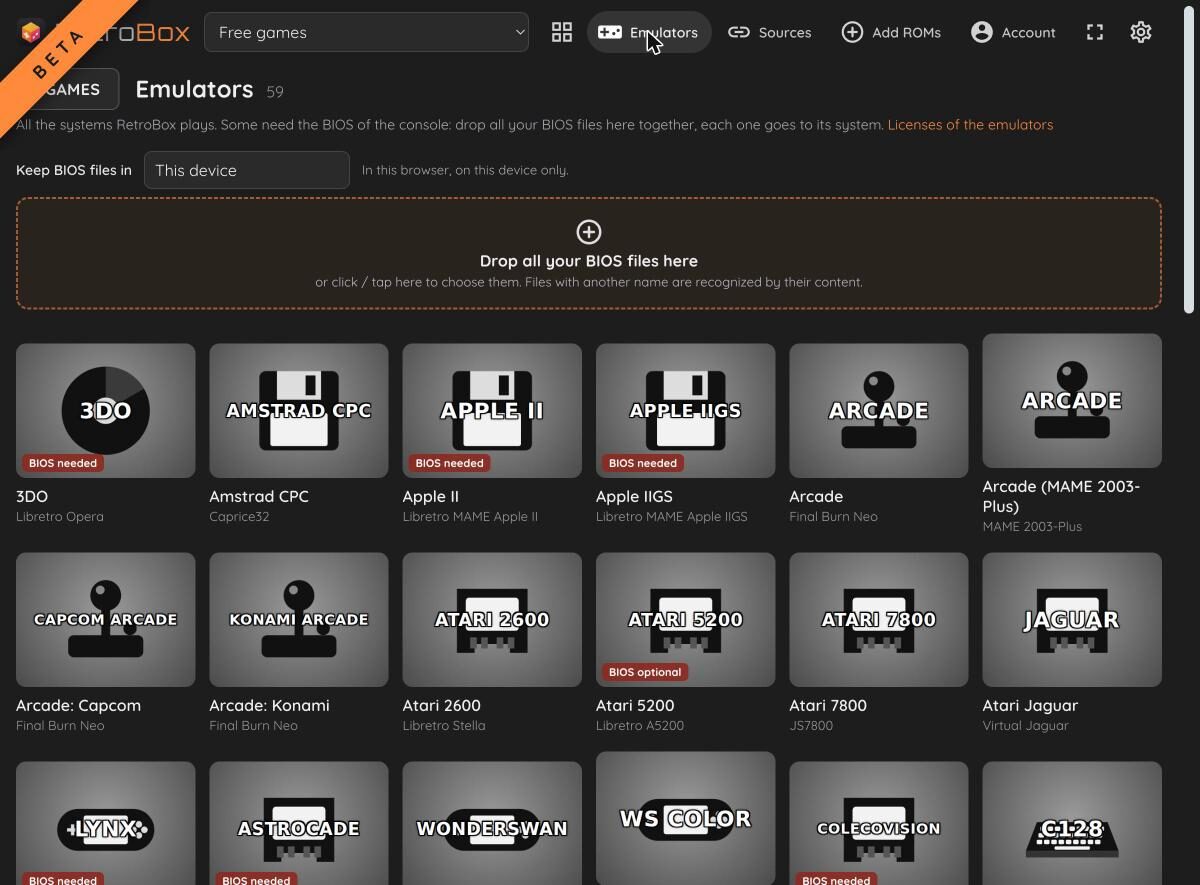
- Press Emulators at the top.
- Drop all your BIOS files together on the dashed area, or click and pick them: each one goes to its system by itself, even with a different name, because it is recognized by its content.
- In Keep BIOS files in choose where to keep them: by default they stay in this browser, on this device.
RetroBox does not provide BIOS files: they are protected by copyright like the games. Systems with “BIOS optional” work with emulation alone; with the BIOS more games run.
Account and other devices
Without an account everything stays in the browser you are using. With an account you find your library, sources, favourites, recent games and settings on every device. The account syncs the lists, not the files.
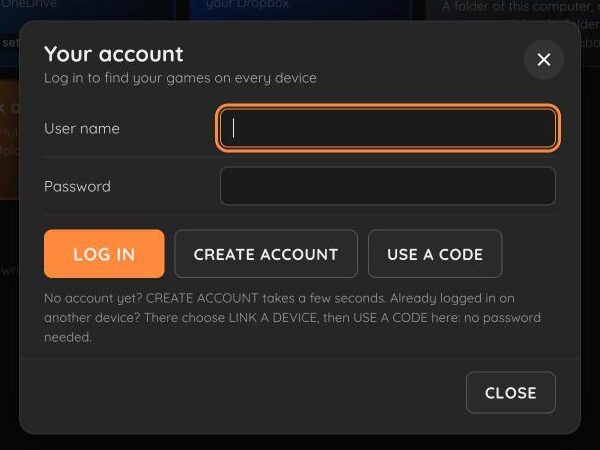
Creating an account
- Press Account at the top.
- Type a user name and a password and press Create account. It takes a few seconds, no email needed.
- From then on, on other devices you get in with Log in or with a code.
Linking a device with a code
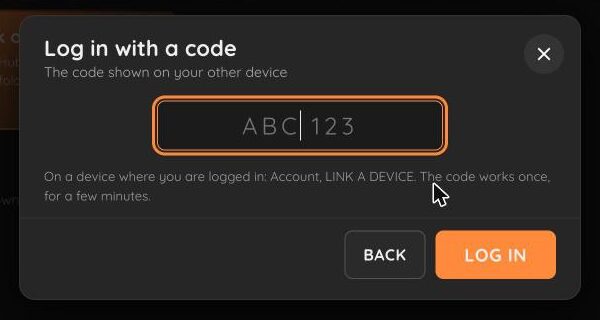
- On the device where you are already logged in, open Account and choose Link a device: a 6-character code appears.
- On the new device open Account › Use a code, type the code and press Log in.
- The code works once, for a few minutes. No password needed.
You can delete the account at any time, with all its data, from Account › Delete account.
Settings
They open with the gear in the top right corner. They apply to all games; each game can have its own from Options on its card.
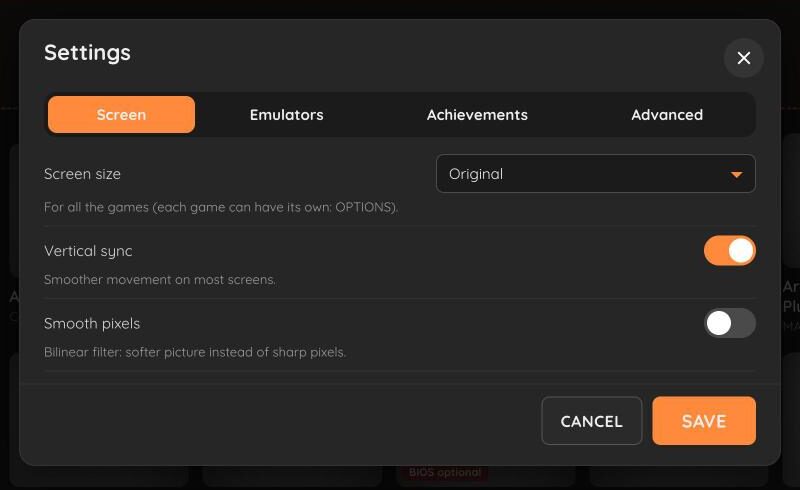
- Screen screen size, vertical sync (smoother movement) and smooth pixels (bilinear filtering)
- Emulators which emulator to use for a system, when there is more than one
- Achievements RetroAchievements: achievements and trophies for classic games, with your retroachievements.org account
- Advanced language, title bar at start, licences and legal notes
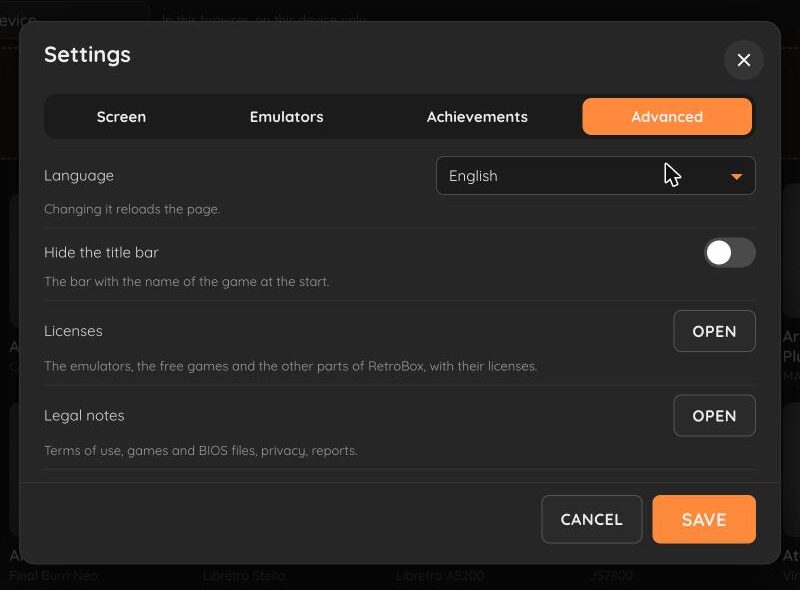
The language can be automatic (the browser's), English or Italian; changing it reloads the page. It also applies to the pause menu and the emulator settings. Press Save to confirm.
Troubleshooting
- The game keeps loading or does not start.
- Check in the Emulators panel whether the system needs a BIOS and whether you added it. Some games only work with a different emulator: try changing it in Settings, Emulators tab. The first game of a system takes a few more seconds because the emulator is downloaded.
- I cannot hear any sound.
- Browsers block sound until you touch the page: click or tap the screen when the notice appears.
- A link does not work.
- The link must be public and the server hosting it must allow downloads from other sites (CORS). For GitHub only public repositories are supported.
- RetroBox says a folder is no longer connected.
- The browser forgot the permission to read it: add it again from Sources, or pick it again when RetroBox asks.
- My FTP server cannot be reached.
- The RetroBox server can only connect to servers on the internet. A server on your home network cannot be reached: in that case use the network folder or a folder on your computer.
- Where do my saves go?
- Saved games stay on the device where you played, in the browser. If you clear the site data in your browser, they are deleted too.
- Full screen does not work on iPhone.
- Safari on iPhone does not let web pages go full screen. On iPad and other devices the button works.
- Can I download commercial games from RetroBox?
- No. RetroBox only offers freely licensed games and does not point to sources of protected games or BIOS files. You can add the games you have the right to use.
RetroBox is in beta. If something does not work, let me know: tell me the game, the system and the browser.